At Builder, we’ve seen how helpful a process can be when turning dreams into a software with Builder Studio (and now, Builder Now!). Creating a product or preparing for your digital transformation requires not only careful planning, but an immense portion of creativity and ingenuity. For the dreamers of us, creativity can be difficult to turn into an actual product. That’s where design thinking comes in to turn your teams’ creativity into a successful product.
What is design thinking?
Let’s start here. What is the design thinking model? According to the nonprofit Interaction Design Foundation (IDF), “Design thinking is a non-linear, iterative process which seeks to understand users, challenge assumptions, redefine problems and create innovative solutions to prototype and test. The method consists of five phases—Empathize, Define, Ideate, Prototype and Test and is most useful when you want to tackle problems that are ill-defined or unknown.”So let’s look at each of these phases and how they interact.
Step #1: Empathize
In this critical first phase, the goal is to spend time getting to know users and determining their wants, needs and objectives. What does this involve? It means talking to users and observing their current processes. Think of it as a focus group, where a user is observed trying to run a new software interface. Just like in a focus group, pay attention to why the user chose the wrong steps. The developer’s point of view should be to ignore any preconceived ideas about what the user really needs and to listenduring the dialogue. The result of this phase is to gain a better understanding of the challenges and problems plaguing users.
Step #2: Define
This phase is devoted to defining the problem. You’ll take all of your findings from the empathize phase and start to make sense of them. For instance, what problems and brick walls are your users encountering? Are there patterns that you discovered during the previous phase where you observed users’ actions? What is the biggest issue facing users that your team needs to solve? Gathering information on how people are currently trying to solve the problem provides insight into possible solutions, and learning about the frustration experienced by users will help your team identify unmet needs.
Everyone is familiar with “cheat sheets” that users employ to get around the shortcomings of the system.By the end of this phase, you should have a clear understanding of the problem and to put it onto paper in a few sentences. Once you’ve formulated the problem into words, your team can come up with ideas and ultimately, solutions.
Step #3: Ideate
This phase involves your team putting on their thinking caps as it considers the information it has gleaned from the first two phases. This is where the creative juices start to flow. You can encourage your team to “think outside of the box” in order to bring fresh ideas to the design thinking table. This alternative method can help your team “remove the blinders” that may have manifested themselves based on past experiences. Team members should understand that no matter what ideas they may come up with, they will not be judged poorly for having presented it and that the ideas will not face ridicule.
The Ideation phase really involves two distinct sections. One is the generation of ideas and the other is the evaluation of each of those ideas. There’s no need to analyze how effective an idea is or whether it will work at this stage. You never know when an unworkable idea might inspire someone to say “but what if” and come up with a solution that does work. So encourage the flow of ideas. Put them on a whiteboard so that they don’t get forgotten in the flurry of brainstorming.Next, it is time to evaluate the ideas that have been presented.
Take the pulse of the room on each idea and go back to its’ originator if questions from the team need to be clarified. One tried and true method is to pass out brightly colored stickers or post-it notes to each team member. They place a sticker on those ideas that they have rated the highest. By the time this phase is ending, the team should have generated many ideas. Then, vote to approve one or more concrete ideas to try to find the solution. The idea or ideas with the largest number of stickers will be moved along to the next phase, Prototyping.
Step #4: Prototype
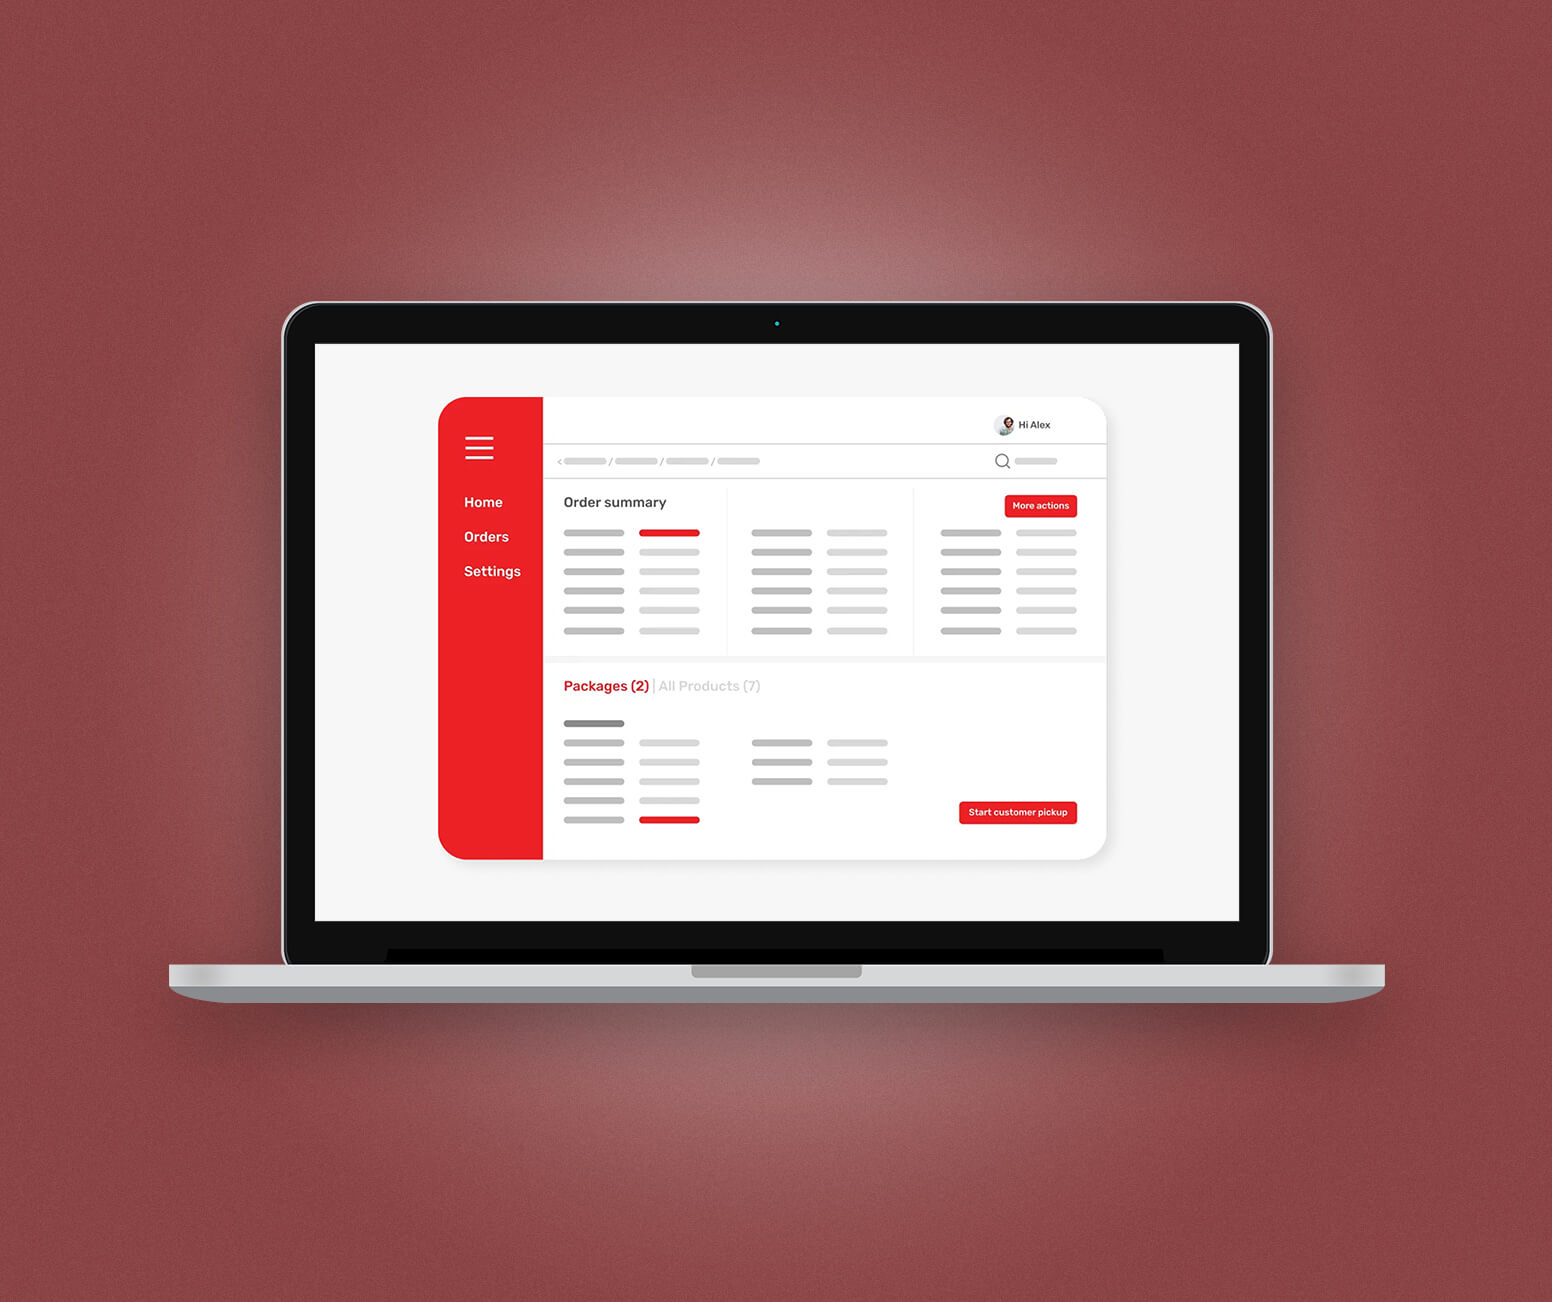
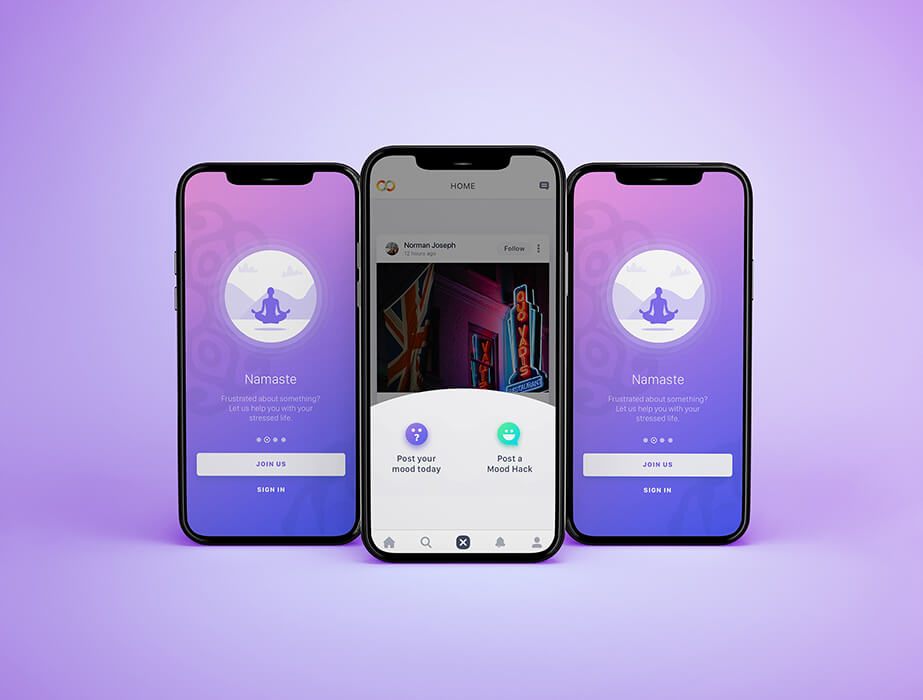
This phase involves having the team create several products (inexpensively) that have specific features that were identified in the previous phases. Reviewing each prototype allows the team to hone in on possible solutions to the problems identified. This lets the team view any shortcomings of the prototypes and how they can be improved. By starting with an inexpensive, quick prototype (like wire framing--or using Builder Now to build an ultra quick prototype) you can work toward a solution with no coding involved so the users can provide feedback.
Step #5: Test
In the final phase, the team and users test prototypes created previously. As you receive feedback, it’s important to keep an open mind. This includes the possibility of starting over in the quest for the answer. The goal is to see how well a prototype resolves the problem. One advantage of this process is that alterations and improvements can be made before the prototype goes into production. This continues until the problem is solved or until the users are satisfied with the end result.
Summary
From what we’ve explored, the goal of design thinking is to move from identifying customers’ real problems, generating problem-busting solutions, creating prototypes and finally, testing a solution to ensure its validity and acceptance. At its essence, design thinking enables your team to create the most effective product through customer validation.Of course, whether or not you’ve completed a design thinking process for your idea--we’re still here to help. When you’re ready to turn your idea into a product, we’ll be here for you at every stage of the process with Builder Studio (and soon, Builder Now!).
Stories published by the editorial team at Builder.ai.








 Facebook
 X
X LinkedIn
 YouTube
 Instagram
 RSS
RSS
